

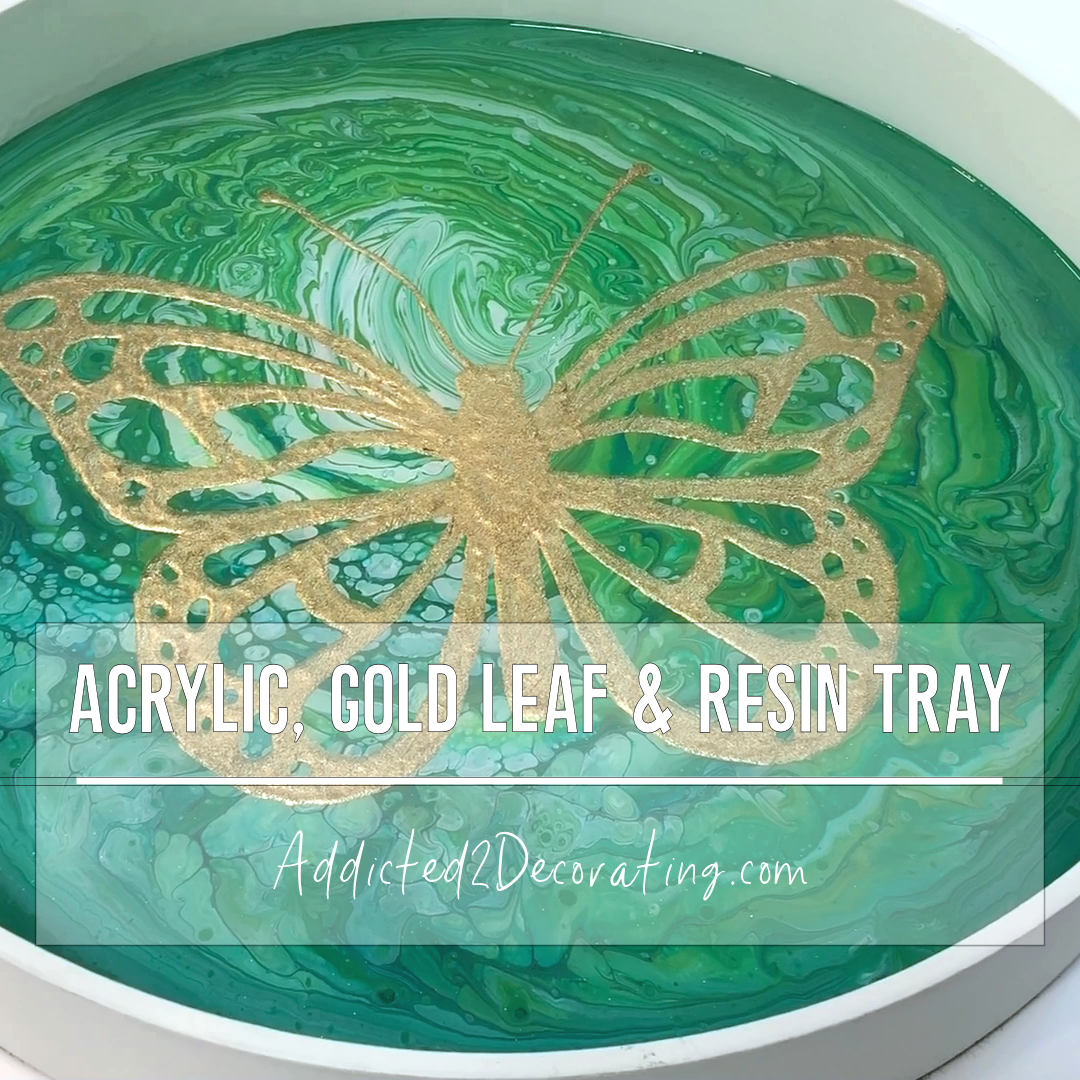
How To Use Gold Leaf In Resin
Last Updated on December 26, 2019 past
I've officially completed my outset fine art project (and video!) in my studio using my new, crawly work table. Y'all, I'm going to have so much fun in there creating projects and videos to share with y'all. For now, I'yard in the mood to practice some easy and creative projects, but the edifice, sewing and upholstery projects volition exist coming in the time to come, and then if those are the things y'all're interested in, stay tuned!
Only for today, I want to show you how I turned a simple serving tray (that I plant on sale at JoAnn Fabrics) into a function piece of artwork using acrylic paints, aureate leaf, and resin.
Hither'due south what you'll need for this projection:
- Serving tray – yous tin can apply either metal or wood
- Acrylic paints in your pick of colors – I used six colors of craft acrylic paints and fine art acrylic paints
- Floetrol
- Water
- Mixing cups/jars
- Stir sticks
- Gloves
- Propane torch (or some people use butane)
- Water-based clear coat (I prefer General Finishes High Performance Topcoat)
- Pattern or stencil for design
- Painters record
- Permanent fine point felt tip pen
- Extra thick adhesive size
- Fineline applicator bottle
- Gold leaf
- Potent bristle castor
- Vacuum/Shop vac
- Resin (I use ArtResin)
- Mixing cup and measuring cup for resin
- Stir stick or spatula to spread resin
- Glitter (optional)
Step i: Mix and pour acrylic paints
I used both fine art acrylics and craft acrylic paints on this project, with a total of six colors in dejection, teals, greens and white. I found that the craft paints were the right consistency mixed in a ane:1 ratio with Floetrol, but the art acrylics were a bit thicker, so I mixed those ane:1 with Floetrol and so added a bit of h2o.
So I poured my six colors into a jar, just a bit at a time to "layer" the colors together, so poured the paint onto the lesser of the serving tray.

After moving the tray around to swirl the paint and comprehend the entire bottom of the tray, I used my propane torch to remove whatever air bubbles that were trapped in the paint.

Then I set the tray aside for well-nigh 24 hours to let it dry out completely.
Step ii: Articulate coat the acrylic
When the pigment was completely dry out, I added a water-based articulate coat on tiptop of the paint. And of grade, my go-to articulate glaze for just about everything (from kitchen cabinets to fine art projects) is General Finishes High Performance Topcoat. This stuff is amazing, and I always have information technology on hand. My favorite is the flat end.
This dries very apace and was actually gear up to go in virtually 30 minutes. Just it took longer than that for me to create my pattern for the butterfly design.
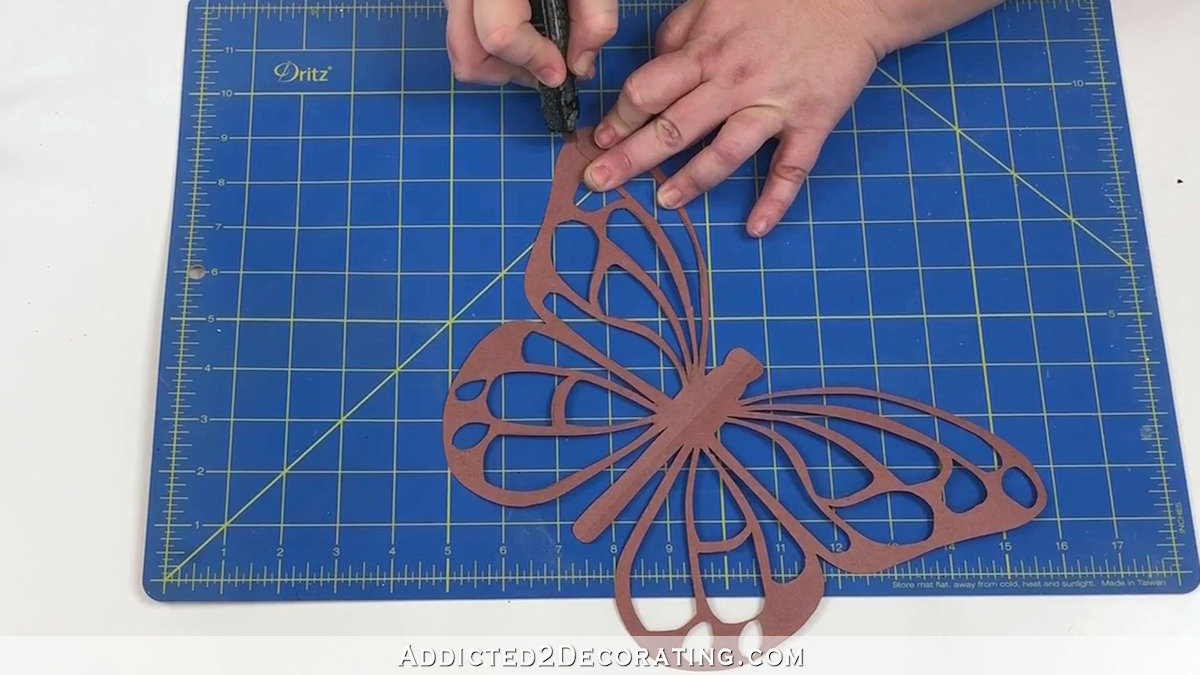
Footstep 3: Brand the blueprint for the design
I used some craft paper to draw a butterfly to fit the bottom of the tray. To make sure that the butterfly was symmetrical, I only drew one-half, folded the newspaper over at the middle of the butterfly, and then used my scissors to cut out both sides at the same time. (Imagine cutting out perfectly symmetrical hearts in class school by folding the newspaper in half.)
Then I drew the wing pattern on one side, used my X-acto knife to cut out the blueprint, and so folded the butterfly in half once again and used the cutting out pattern on the commencement fly to trace the design onto the 2d wing. Then I cut out the pattern on the second wing, and my blueprint was ready to go.
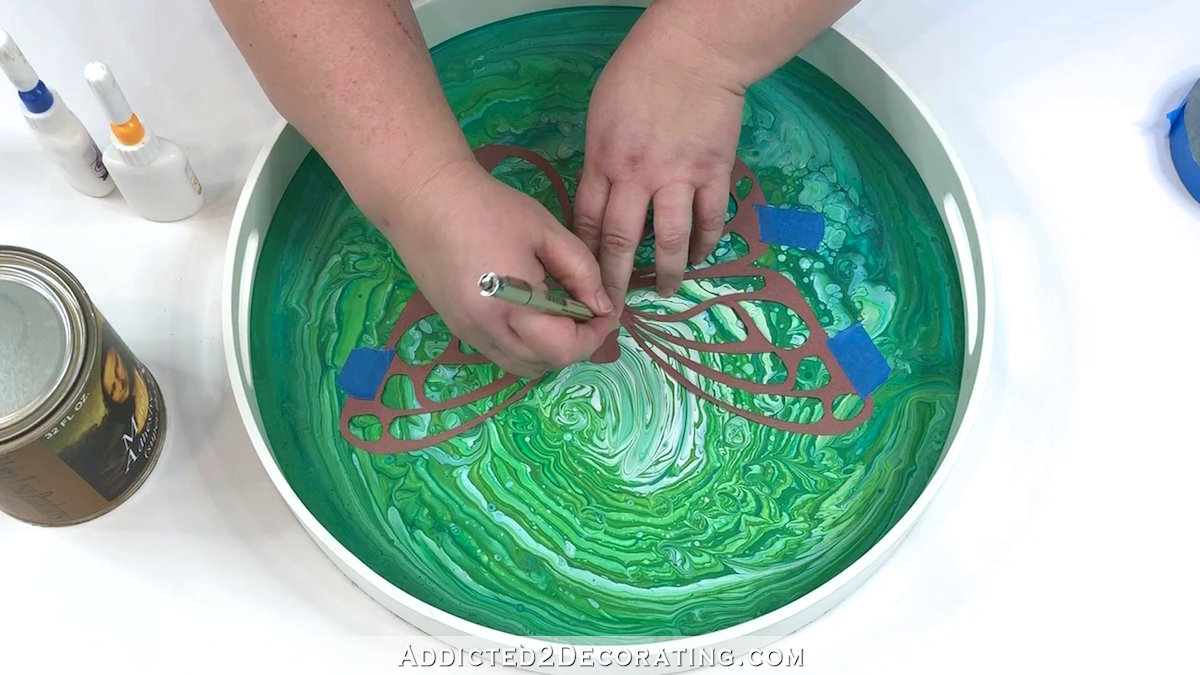
Step iv: Trace the pattern onto the tray.
Using some painters tape and a fine point felt tip permanent pen, I traced the butterfly design onto the bottom of the tray. And then I removed the pattern and filled in where the painters tape had been, and too filled the wing design with some smaller circles.
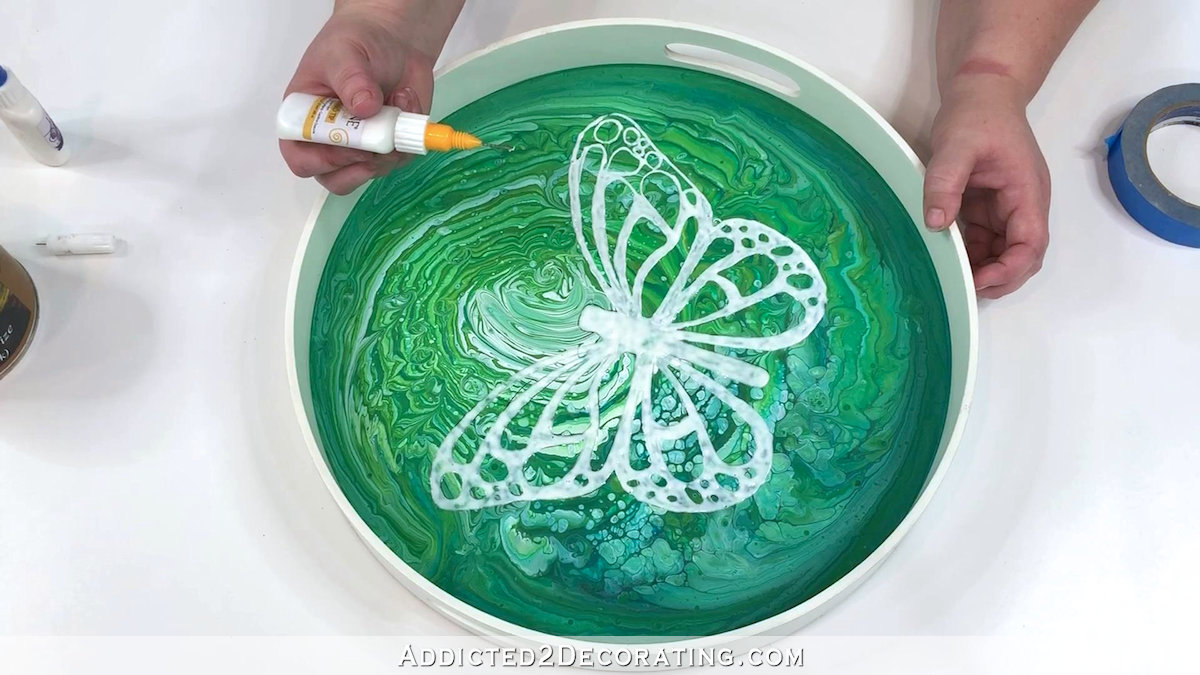
Stride 5: Fill in the blueprint with metallic leafage adhesive size
Using an 18-estimate Fineline applicator bottle filled with extra thick metal leaf agglutinative size, I filled in the pattern with the size. This process was long and tedious, and my thumb kept cramping so I had to take several breaks. I call back it took nearly xxx-40 minutes to complete the design, just I didn't really fourth dimension myself. I but know that my paw was agonized by the time I was finished! 😀
Step six: Apply the gilt leafage
The adhesive size takes MANY hours to dry out completely. You'll know it's dry when you can no longer see any white, and the size is completely articulate. If you lot can still see white, it needs more time to dry out.
Using a small castor with fairly stiff beard, I practical the gilded leaf to the butterfly design. I used the brush to push the gilded leafage into all of the nooks and crannies, and and then to brush away the backlog foliage.
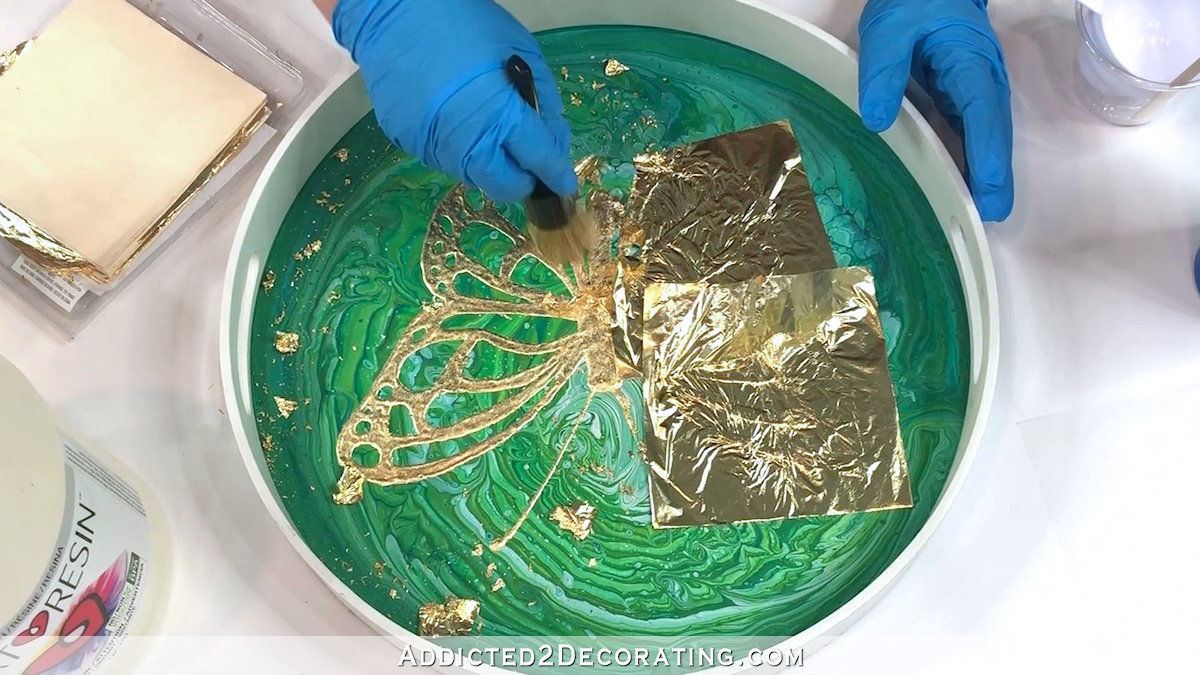
Don't throw away those little bits of gold foliage! Salve those in a jar for later projects. And be certain to vacuum up all of the little bits that remain on the tray, the work surface, and your hands then that they don't go into the resin layer.
Pace seven: Mix and pour the resin
The final step is the mix and cascade the resin layer over the design. This tray is probably 15 inches in diameter, and I used a total of 8 ounces of mixed resin. That's more is required, but I'd rather the resin layer exist thicker than needed than be as well thin.
I mixed the resin according to the directions, and then added just a little glitter for some added sparkle.
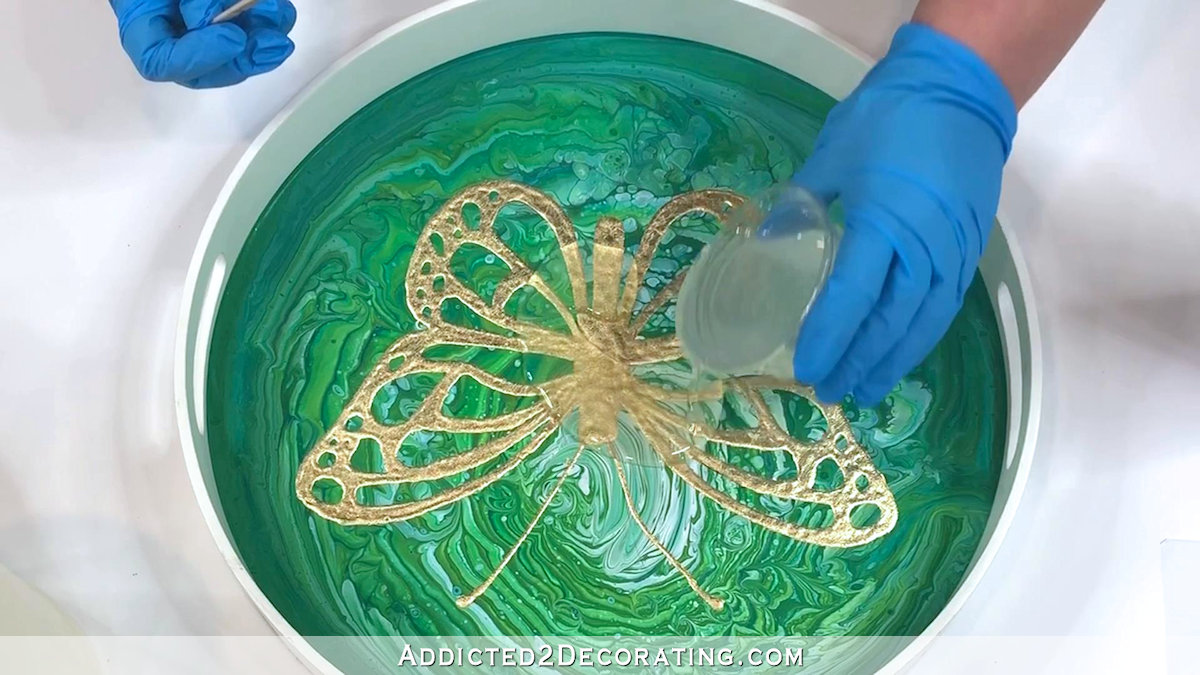
I used a stir stick to spread the resin out as evenly as possible, making sure information technology covered all of the edges. Resin is self-leveling, so it doesn't need to be perfect. As long as you spread the resin over the whole surface and into all of the edges, information technology'll piece of work its magic and level itself. And of course, using the propane (or butane) torch to remove the bubbles also warms the resin just a chip, making information technology a little thinner and speeding upward the leveling process. Simply exist certain you keep the torch moving and so that you lot don't burn down the resin!

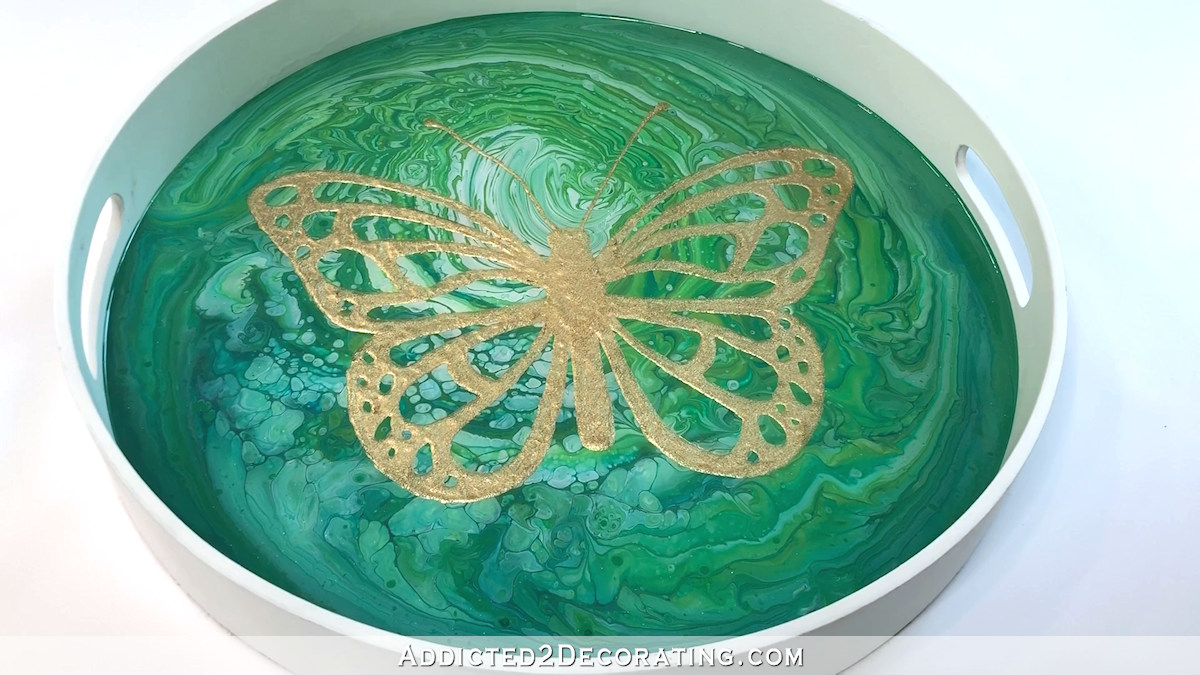
Washed!
The resin volition take about 24 hours to dry completely, then nearly 30 days to fully cure. I would suggest not putting anything on the tray until it has had time to completely cure. Until then, you tin can display it and enjoy the pretty gold leaf blueprint and the drinking glass-like cease of the resin.

Fond 2 Decorating is where I share my DIY and decorating journey as I remodel and decorate the 1948 fixer upper that my husband, Matt, and I bought in 2013. Matt has M.S. and is unable to do physical piece of work, so I do the majority of the piece of work on the house by myself. You can acquire more than nearly me here.
I hope yous'll join me on my DIY and decorating journey! If you lot want to follow my projects and progress, you can subscribe below and have each new mail delivered to your email inbox. That way you'll never miss a thing!

How To Use Gold Leaf In Resin,
Source: https://www.addicted2decorating.com/diy-acrylic-gold-leaf-resin-serving-tray.html
Posted by: wildertices1954.blogspot.com
0 Response to "How To Use Gold Leaf In Resin"
Post a Comment